

Want to find out how KUNBA packaging machines can benefit you? Contact and consult our team of experts to find out about packaging solutions tailored to your needs!
Why Your Vacuum Sealer Won’t Seal – 3 Quick Fixes | KUNBA
Jun 25,2026
You load the bag, position it carefully across the seal bar, close the lid, and press start. The vacuum runs—the machine hums, the air is removed, and you wait for the seal. But when you open the lid, the bag is still open. No seal. Or worse, a weak seal that comes apart the moment you handle the package.
A vacuum sealer that won't seal is almost as useless as no sealer at all. And when you're in the middle of a packaging run, the clock is ticking.
Here's the good news: in the vast majority of cases, sealing failure comes down to one of three issues. And each has a straightforward fix that takes just minutes to apply.
Clean or Replace the Seal Bar
The seal bar is the component that melts the bag material to create the seal. It consists of a heating element, a Teflon tape or PTFE cover that prevents sticking, and sometimes a silicone pad or cushion underneath.
Why it fails: Over time, sealing bars accumulate residue and debris from the packaging process. Food juices, marinades, moisture, and even dust from dry goods can bake onto the Teflon tape during sealing cycles. This creates an uneven heating surface—some sections of the bar become hotter or cooler than others, resulting in incomplete or inconsistent seals.
The quick fix:
-
Let the seal bar cool completely before touching it. The heating element remains hot enough to cause burns and damage cleaning cloths.
-
Clean the seal bar surface with a soft cloth lightly dampened with isopropyl alcohol. Rub gently in one direction until the surface is clean and free of residue.
-
Use a non-abrasive pad for stubborn buildup, but avoid scratching the Teflon tape.
-
Let it dry completely before running another cycle.
If cleaning doesn't work, replace the Teflon tape. Teflon tape typically lasts 6–12 months with regular use. Signs it needs replacement include:
-
Darkened, burned, or wrinkled appearance
-
Visible holes or tears
-
Bubbles forming during sealing
-
Uneven seal appearance
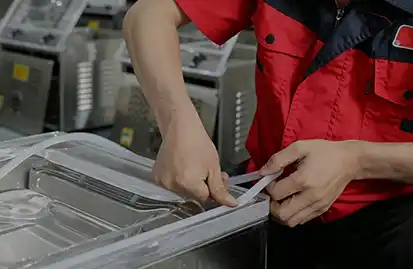
Step-by-step Teflon tape replacement:
-
Unscrew the seal bar ends or remove the securing clips
-
Peel off the old tape
-
Clean the metal surface underneath
-
Cut new tape to the correct length, leaving a slight overlap at the ends
-
Secure the new tape by tucking it under the clips or tightening the screws
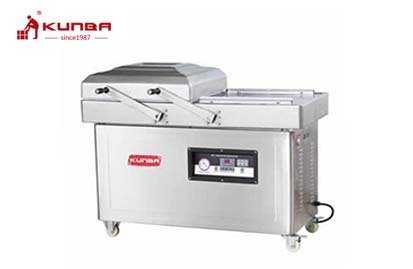
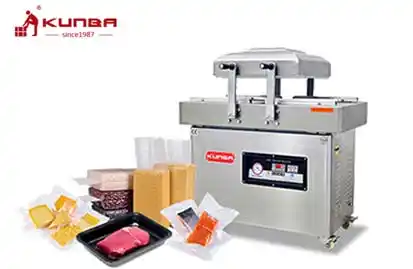
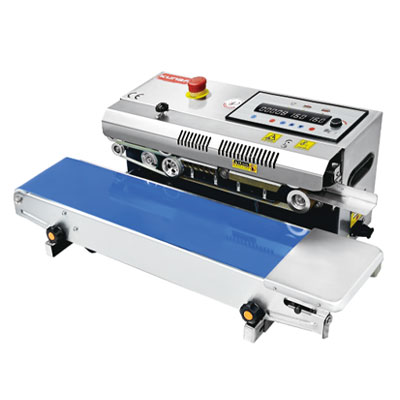
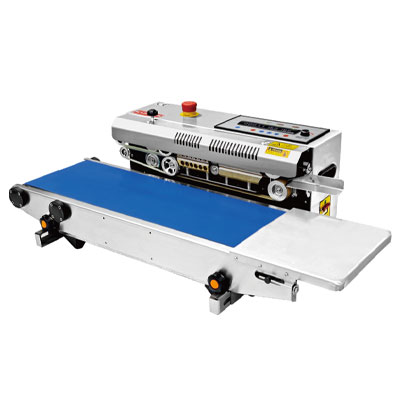
To explore the specific maintenance requirements across different machine types, understanding your equipment's design is essential—some models feature more accessible seal bars than others.
Check the Seal Bar Cushion and Foam Gasket
Behind the seal bar is a silicone cushion that provides a flexible backing during sealing, allowing the bar to press evenly against the bag material. Above the seal bar, on the underside of the lid, there is often a foam gasket that holds the bag in place during sealing.
Why it fails: The silicone cushion can become compressed, hardened, or burnt over time. When this happens, the seal bar doesn't press evenly against the bag material, creating weak spots or complete seal failure. Similarly, the foam gasket can become worn, dry, or cracked, losing its ability to hold the bag securely against the seal bar during the sealing cycle.
The quick fix:
-
Inspect the silicone pad: Look for signs of compression, burn marks, or hardening. A pad that no longer springs back when pressed needs replacement.
-
Check the foam gasket: Press it gently—if it feels brittle, shows cracks, or no longer cushions properly, it's time to replace.
-
Replace the pad or gasket: For most machines, these are easily replaceable parts. Order the correct replacement from your manufacturer or authorized distributor.
-
Install the new component: Slide out the old pad and slide in the new one. For foam gaskets, peel off the old adhesive-backed gasket and press the new one into place.
Why this matters: A seal bar can be perfectly clean, but without proper backing pressure, the heat won't transfer consistently to the bag. Replacing the cushion restores the mechanical pressure needed for a complete seal.
Adjust the Sealing Time and Temperature Settings
Sometimes the issue isn't mechanical—it's a matter of settings. Different bag materials and thicknesses require different sealing times and temperatures. Using the wrong settings is one of the most common reasons for seal failure.
Why it fails: Too little heat or too short a seal time, and the bag material doesn't fully melt and fuse. Too much heat or too long a seal time, and the material can burn through or become brittle. Every bag material—polyethylene, nylon, foil-laminated, or vacuum pouches—has a specific optimal setting.
The quick fix:
-
Check the bag material and thickness: Look at the packaging your bags came in. It should specify recommended sealing temperature and time ranges.
-
Start with a test seal: Use a piece of scrap bag material to test different settings.
-
Adjust sealing time: If your machine has adjustable sealing time, increase it by 0.5-second increments until you achieve a complete seal. For example, if you're at 2.0 seconds and getting weak seals, try 2.5 seconds. If the bag burns or becomes brittle, reduce time slightly.
-
Adjust sealing temperature: Similarly, increase temperature in small increments until the seal is complete, but watch for signs of overheating.
-
Note the correct settings for each bag type: Once you find the combination that works, record it for future reference—this avoids guesswork on your next run.
Pro tip: For thicker bags, increase sealing time. For thinner bags, reduce time to avoid burn-through. Also consider the type of material: foil-laminated bags often require longer seal times than clear polyethylene.
The 3-Fix Summary
| Fix | When to Apply | How to Fix |
|---|---|---|
| Seal Bar cleaning/replacement | Seal is weak, incomplete, or absent; Teflon tape looks burned or dirty | Clean with isopropyl alcohol; replace Teflon tape if burned or worn |
| Silicone cushion/foam gasket replacement | Seal is inconsistent across bag width; bag slips during sealing; cushion is compressed | Inspect and replace silicone pad or foam gasket behind seal bar |
| Sealing time/temperature adjustment | Seal works with one bag type but fails with another; settings seem unchanged, but performance changed | Increase seal time in 0.5-sec increments; adjust temperature if applicable; test on scrap material |
Beyond the Three Fixes – When to Look Deeper
If you've applied all three fixes and your vacuum sealer still won't seal, there may be a deeper issue:
-
Heating element failure: The wire or ribbon that generates heat may be broken or worn. This can be tested with a multimeter (check for continuity).
-
Wiring or connection issues: Loose or corroded connections to the seal bar can prevent proper heating.
-
Control board failure: In digital or programmable machines, the control board may have malfunctioned.
-
Vacuum pump performance: If the machine isn't pulling enough vacuum to hold the bag firmly in place during sealing, the bag may shift, resulting in a poor seal.
In these cases, professional repair or replacement of the affected component is typically required. If your machine is older or heavily used, the cost-benefit analysis of repair versus replacement is worth considering.
Building a Seal-Prevention Routine
The best way to avoid sealing failures is to catch them before they start:
-
Clean the seal bar after each use – This prevents residue from building up and hardening.
-
Inspect the silicone pad monthly – Replace when it feels compressed or looks burnt.
-
Check Teflon tape condition weekly – Replace when burned or wrinkled.
-
Keep spare parts on hand – Having a replacement Teflon tape, silicone pad, and gasket means you can fix the issue immediately rather than waiting for a parts order.
Pro tip: Keep a log of your current settings for different bag types. Sticky notes on the machine or a simple spreadsheet can save hours of trial and error on your next run.
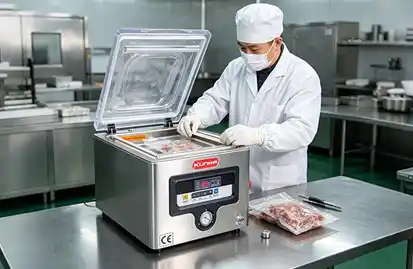
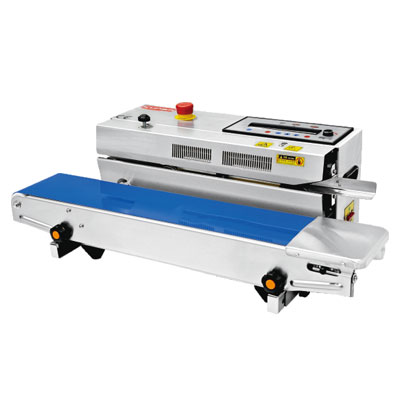
For visual guidance on these repair procedures, maintenance resources covering seal bar replacement, Teflon tape installation, and pad inspection are available for various equipment configurations.
When to Consider an Equipment Upgrade
If you find yourself applying these fixes frequently—or if your machine is over 5–7 years old with high usage—it may be worth evaluating whether a newer model would better serve your needs. Newer machines often feature:
-
Digital temperature and time control with memory presets for different bag types
-
Quick-change seal bar assemblies that make parts replacement faster and easier
-
Self-diagnostic systems that alert you to specific issues
-
Improved energy efficiency and lower operating costs
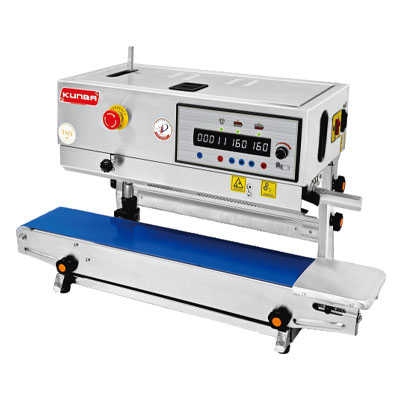
Understanding the specific features available across different machine categories can help you determine what's worth upgrading to.
For ongoing education, consider reading KUNBA's guide on vacuum sealer maintenance and cleaning, which covers daily and weekly routines that complement the seal-fix strategies covered here.
Related Reading
-
Stop Vacuum Leaks on Chamber Sealer – Permanent Fix
-
How Often to Clean a Chamber Vacuum Sealer
-
Double Output: Upgrading to a Fully Automatic Vacuum Packing Machine
-
Automatic vs. Manual Vacuum Packing Machine: Selection Guide
This article is part of KUNBA’s technical content library. No direct sales or pricing information is included. All technical discussions aim to help you make informed purchasing decisions.
Latest events